The repair process after an accident can feel like a long wait full of unknowns. Knowing which stage your car is at — and why each one takes time — makes the whole process clearer. Below are the typical stages of an accident repair; since every job is different, some steps may be shorter or happen in a different order.
1. Check-in and initial inspection
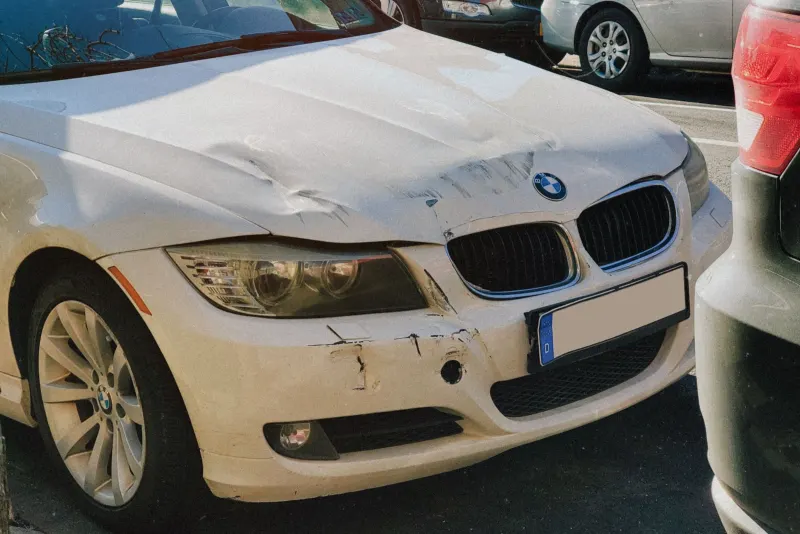
When the car arrives, the visible damage is photographed and recorded. We check whether the car can be moved safely, whether anything is leaking, and the state of the electrical systems. You get a first idea of the overall scope at this stage.
2. Insurance (if applicable)
If the damage is covered by comprehensive insurance (kasko) or the other driver’s compulsory traffic insurance, the insurer’s appointed loss assessor inspects the car and assesses the scope of repair. When work can start depends on the insurer’s approval. Missing paperwork can slow this stage down, so have the accident report, registration and photos ready.
3. Strip-down and detailed assessment
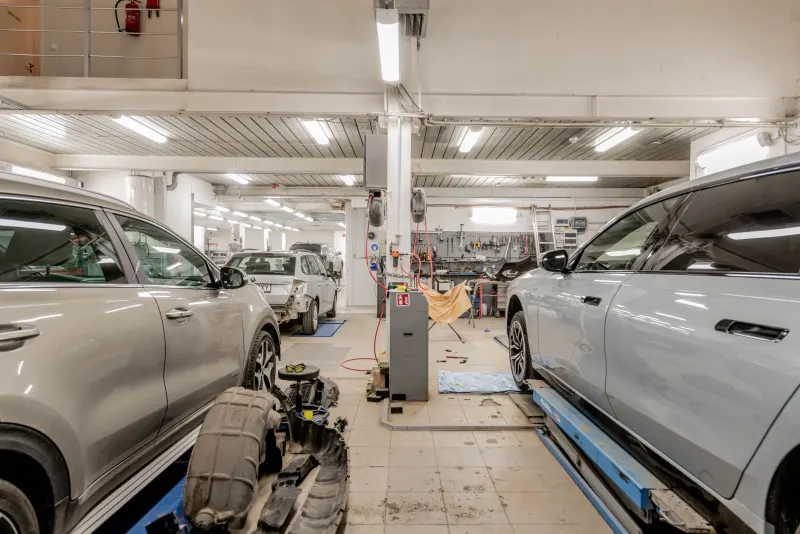
The bumper, interior trim and damaged panels come off so the mounting points, supports and structural areas behind them can be inspected. Extra damage not visible at first usually shows up here. If it does, the repair plan is updated and you’re informed.
4. Ordering parts
Once it’s clear which parts need replacing, they’re ordered. Whether they’re genuine or aftermarket, the model of car and supplier stock all affect how long this takes. Some parts arrive quickly; others mean waiting.
5. Structural repair
If the impact reached the car’s structure, the first job is bringing the body back to the correct dimensions. Skip this, and however neatly the outer panels are done, problems with panel gaps, alignment and handling can remain.
6. Panel work and surface preparation
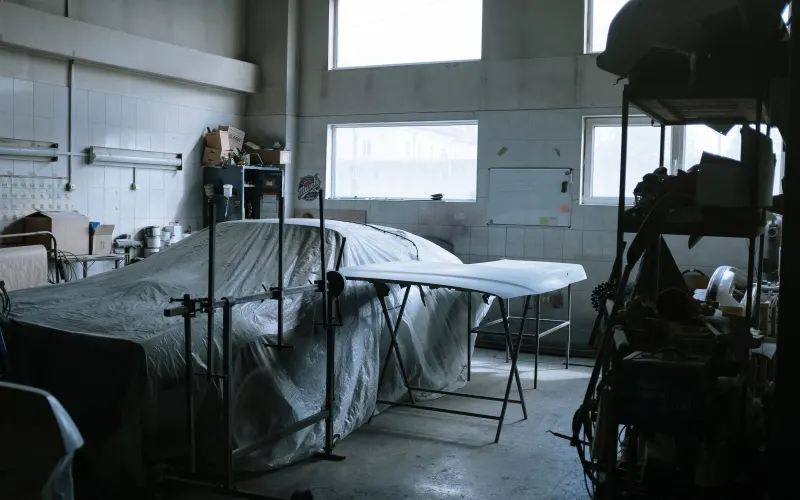
Damaged panels are straightened or replaced. Then the surfaces are prepared for paint: sanding, a thin skim of filler where needed, primer, and masking of everything that isn’t being painted. This is the step that most decides the quality of the finish.
7. Paint
The colour is mixed from the car’s paint code and adjusted to its existing paint. Base coat and clear coat are applied and left to cure. Where needed, the paint is blended into neighbouring panels so no colour difference shows.
8. Reassembly and function checks
Removed parts go back on. Headlights, indicators, parking sensors and other electrical components are tested. If the impact affected the suspension or steering, wheel alignment is carried out. Cars with driver-assistance cameras or radar may need those systems recalibrated, which in some cases requires manufacturer-specific equipment.
9. Final inspection and handover
The car is checked in daylight and from different angles, including panel gaps and how the doors close. At handover we go through the work with you.
What can make it take longer
- Extra damage found after strip-down
- Delays in parts supply
- A slow insurance approval
- The time paint needs to cure
For what you can check yourself straight after an accident, see what to check after body damage. To ask about our accident damage repair service, get in touch.